Your cart is currently empty!
Make your own terrarium
Make your own terrarium – Step by step
A closed terrarium is a mini-ecosystem: water vapor from the plants condenses and drips back into the ground along the glass. Withered leaves fall to the bottom and are converted into food for the plants. Plants in a closed bottle can live for years.
Supplies
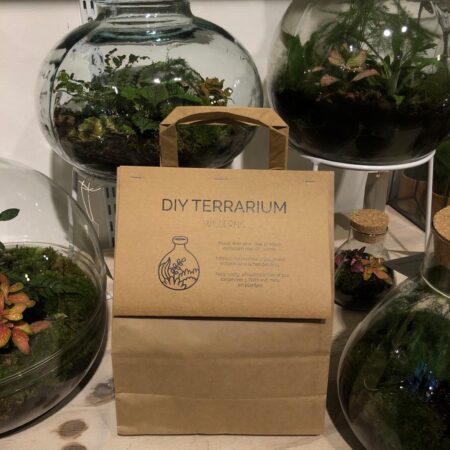
- Wildernis terrarium package (hydro pellets, potting soil, activated carbon)
- Moss (usually available at Wildernis)
- 1 bottle of about 5 liters (also available at Wildernis). A weck jar is also possible. As long as you can close the jar or bottle and the opening is not too small, remember everything has to go in through the neck.
Use small plants and do not put too many plants, leave them some space to grow.
Suitable species are: Fittonia, ferns such as zinc fern (Phlebodium) or maidenhair (Adiantum), Calathea, grass lily (Chlorophytum),
ivy (Hedera), spoon plant (Spathiphyllum), leaf begonia (Begonia rex), Hypoestes phyllostachya and Philodendron scandens.
Additional supplies (tools) for a bottle with a small opening:
- Sturdy tape and an A4 sheet
- An empty PET bottle, of which you use the cap with a piece of neck as a funnel
- Thin (bamboo) sticks of about 40 cm
- 2 teaspoons and a cork from a wine bottle
- Piece of sanding sponge
Step 1
Clean the bottle thoroughly with hot water and green soap. Is the inside dirty and do you have a small opening? Make tools from a piece of scouring pad that you attach to a bamboo stick with a rubber band. Rinse the bottle well and let it dry.
Step 2
Put the hydro granules in the bottle. This first layer ensures that the roots do not get into it
standing water. Do you have a small opening? Then make a long funnel from the top of the PET bottle and a rolled-up A4 sheet far into the bottle, so that you can neatly get the hydro granules, charcoal and potting soil into the bottle.
Step 3
Divide the cabbage regularly over the layer of hydro granules. Activated carbon provides purification and counteracts fungi.
Step 4
Apply a layer of potting soil (about 8 cm) and plant the plants in the bottle. Spread them over the surface. Do you have a small opening? Then attach the spoons to the sticks and use them as tools. Dig a hole in the ground where you want a plant. Remove the plant from the pot and gently shake as much soil as possible from the roots. Take the plant between two spoons and lower it through the neck into the hole. Gently press the soil around the plant with the cork on a bamboo stick. You do this with all the plants. Then place the moss on the potting soil.
Step 6
Finally, spray the plants, moss and soil with rainwater (don’t overdo it) and close the bottle. Keep a close eye on the soil during the first weeks, it should not be too wet or too dry. If too much condensation forms on the wall so that you can no longer see the plants, open the bottle briefly and let the excess moisture evaporate. Is the soil too dry? Then spray. A terrarium needs a light spot, but keep it out of direct sunlight and turn the bottle regularly.
Tip: On YouTube you will find several DIY terrarium tutorials.
Want do a terrarium workshop at Wildernis? Have a look here.